 On the one hand it all seemed so easy – I would create the Pinhegg without breaking the egg, using it as a camera obscura and, upon opening the egg, find the photograph impressed on the shell.
Great.
But, on the other hand, the project didn’t seem easy at all and I postponed it for years – Until, that is, Lomography and the Pinhole Day happening right on Easter gave me the right pretext to do it.
I tried several times, in several ways, soiling my hands with a foul deed made of broken eggs. Now the chickens look at me in pain and terror, but I finally found the right recipe for my Egg pinhole.
Ingredients:
- Egg
- Pinhole
- Liquid photographic emulsion (I used Rolley’s)
- Photographic acid (processing and fixing)
- Adhesive tape
- Black cloth
- A garden
- Stubbornness
- Patience
- More Patience
Instructions:
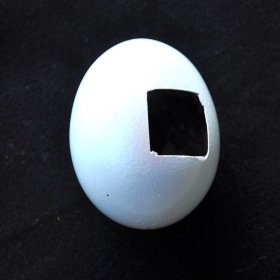
Take the egg and drill it with a rotary tool (I used a Dremel) in order to obtain a square hole (2cm). At this point, usually, you will find yourself covered in egg juice. Before washing yourself be sure that the egg’ shell is empty. Wash yourself and the interior of the egg. In a dark room paint the interior of the shell with the emulsion, in order to make it light-sensitive.
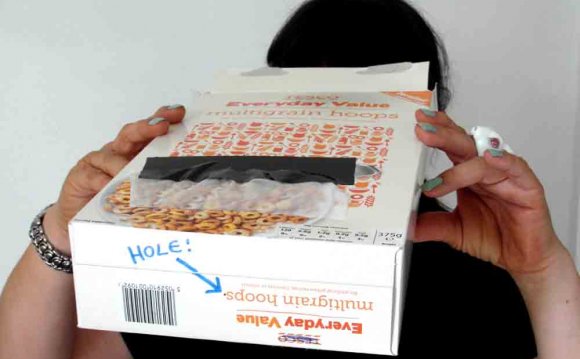
 Now block the opening with a wrought-brass pin-holed plate, trying to restore the natural egg-ness of the shell. With the black tape seal the structure. You’ll notice that the shell is really transparent: to avoid any problem, wrap it with the black cloth, carefully leaving out the pinhole. During each stage of this process the egg could break. Usually it does.
You should finally manage to have a perfect and clothed pinhegg. Now take it to the garden. Place yourself (I did it crouched, naked, motionless) in front of the egg (facing the pinhole!) for about thirty seconds. Luckily, my neighbors spared me from reporting my behavior to the police – I hope yours to be so kind too.
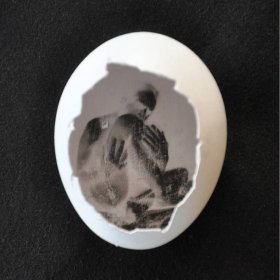
When I felt that the egg was impressed enough by my naked body, I went back to the dark room. I suggest you to do the same. Even if you stay clothed. There, unwrap the egg, remove the pinhole (carefully) and fill the egg with the processing acid and the fixing one, in this order. When it’s done, you should see something appear on the inner surface. You can widen the opening on the egg and take a better look: the photograph should be there, negative and lightly warped by the roundness of the shell. At this point I took a photograph (with a ‘normal’ camera) of the shell and turned it negative in order to see the positive of the original. You can do the same or challenge yourself to find another way to do it.
The vision of my brushy naked body wasn’t so nice to entice me to take more photographs, so I asked a model to pose for my egg. The egg must have appreciated this, because the photos I took after that decision were wider and more definite than my self-portrait.
As you can see, the whole thing is almost simple. The worst part is to deal with the fragility of the shell. In order to take four good photographs I destroyed more than fifty eggs. I should have made a portrait of the biggest pinhole omelette since the times of Dadaism.
So, as I wished, the egg is the camera and the photograph at the same time. It is the beginning and the end of the photographic process. If you add a rebirth (don’t ask me how, please) you’ll have a Perfect-for-Easter pinhegg.
The image born in the egg should be happy enough to stay there forever. It will not leave, age or sepia-wash. At the most, it will glance out, sometimes.
That’s it. Happy Easter. And please, don’t forget to pinhole the world, pinhole anything, pinhole everything that you see.
YOU MIGHT ALSO LIKE

Share this Post
latest post
-
-
-
 History of advertising Photography October 10, 2016
 -
 Materials for pinhole camera October 7, 2016
 -
 Photojournalism photographers October 4, 2016
 -
 35mm nitrate film October 1, 2016
 -
 Photographic films September 28, 2016
 -
 One Colour Photographs September 25, 2016
 -
 Best compact digital camera for street photography September 22, 2016