 enters a box through a hole, is reflected off a mirror ad the image is reflected onto another mirror on the top of the box. An artist draws the image as it appears on the mirror on top of the box.") Students create their own pinhole cameras
Students create their own pinhole cameras
Summary
In this activity, students construct their own pinhole camera to observe the behavior of light.
Engineering Connection
Optical engineers need to understand how light rays work in order to design and create devices such as cameras, lasers and fiber optics.
Educational Standards
Each TeachEngineering lesson or activity is correlated to one or more K-12 science, technology, engineering or math (STEM) educational standards.
All 100, 000+ K-12 STEM standards covered in TeachEngineering are collected, maintained and packaged by the Achievement Standard Network (ASN), a project of JES & Co. (www.jesandco.org).
In the ASN, standards are hierarchically structured: first by source; e.g., by state; within source by type; e.g., science or mathematics; within type by subtype, then by grade, etc.
Click on the standard groupings to explore this hierarchy as it applies to this document.
Pre-Req Knowledge
Longitudinal and Transverse Waves (Lesson 1), Wavelength and Amplitude (Lesson 2), Frequency (Lesson 3), Light (Lesson 6), Electromagnetic Waves (Lesson 7).
Learning Objectives
After this activity, students should be able to:
- Understand how light rays travel in straight lines are used in the processing of images.
- Use light rays to create a photographic image.
- Explain the basics of how a pinhole camera works.
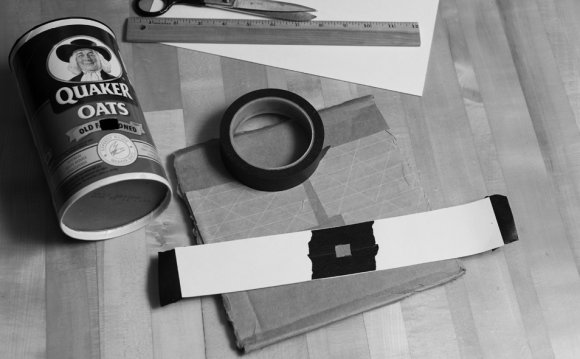
Materials List
 Each group needs:
- 1 ½ gallon milk or juice carton (one per student)
To share with the entire class:
- Wax paper
- Masking/cellophane tape
- Pins
- 3-4 flashlights (for groups to test their cameras)
Introduction/Motivation
Students, this is the very last activity in our sound and light unit. You have all done a great job learning about sound and light and how engineers use their knowledge of sound and light to help improve our world. Today we are going to create something really neat – our own little cameras!
We learned in our lesson that light travels in straight lines and is inverted when it passes through a small hole. Today we are going to see this principal in action. Let's create a camera!
Procedure
Background
Hundreds of years ago, images were etched in stone and later, with the advancement of modernization, onto various types of cloth or even paper. At this point, these images might actually have been paintings of landscapes, portraits or still life (such as a bowl of fruit or a plant). By definition, a picture is a precise copy of an image — a duplicate image, not just a redrawn copy.
So, before the creation of what we know today as digital cameras (or film cameras, which are still widely in use), what did people do to have a copy of a certain image? Well, in the mid 1600s, a dark room, also know as a dark chamber or camera obscura, was cleverly used to transfer an outside image onto paper inside a room. To explain, a large room has a hole in one of the walls. When lights enters the small hole, the outside image is reflected onto the opposite wall. An artist, standing in the room, would then draw the image as it appears on the wall onto paper.
YOU MIGHT ALSO LIKE
Share this Post
latest post
-
-
-
 History of advertising Photography October 10, 2016
 -
 Materials for pinhole camera October 7, 2016
 -
 Photojournalism photographers October 4, 2016
 -
 35mm nitrate film October 1, 2016
 -
 Photographic films September 28, 2016
 -
 One Colour Photographs September 25, 2016
 -
 Best compact digital camera for street photography September 22, 2016